NOTE: This is the same process for all Adobe products
To install Adobe Premiere Pro, follow the steps below.
- Click the Start Menu (Windows Key) and search for Software Centre
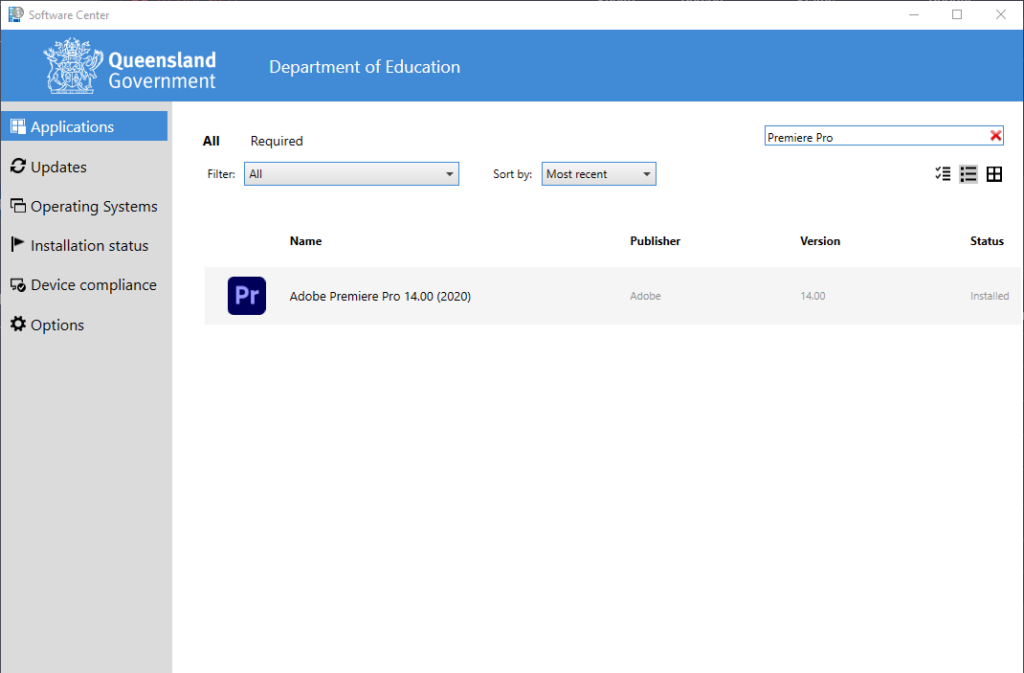
2. In the Applications tab, scroll down to or search for Premiere Pro
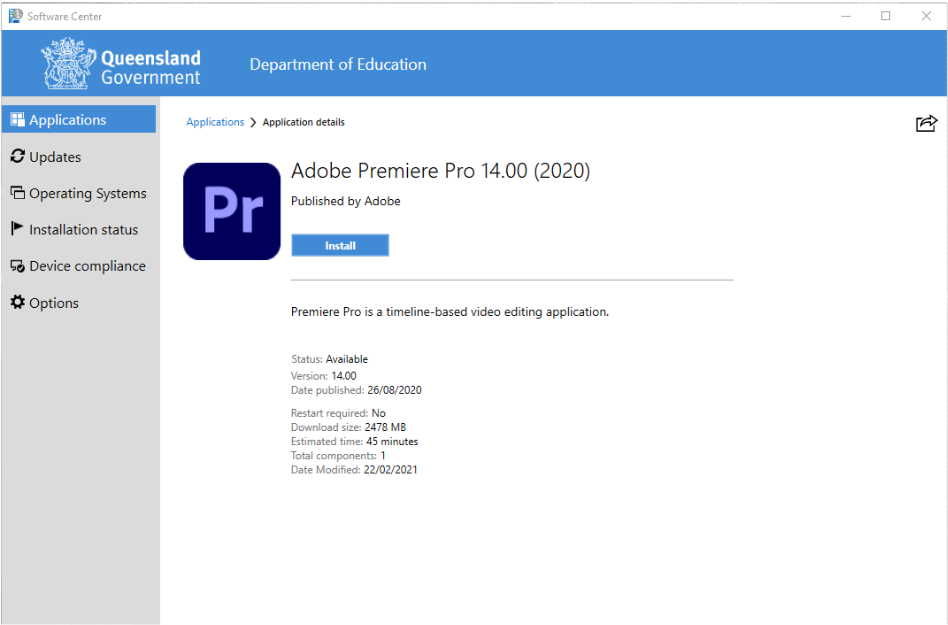
3. Make sure everything else you have open is closed, then click Install
Logging into Adobe
When you first open Premiere Pro, you will be prompted to log in as you normally would to your laptop, a browser, etc. Following the proxy login, Adobe will require you to log in.
If you have previously logged into Adobe and remember your password, disregard the following steps. If this is your first time logging into any adobe program or you have forgot your password, follow the steps below.
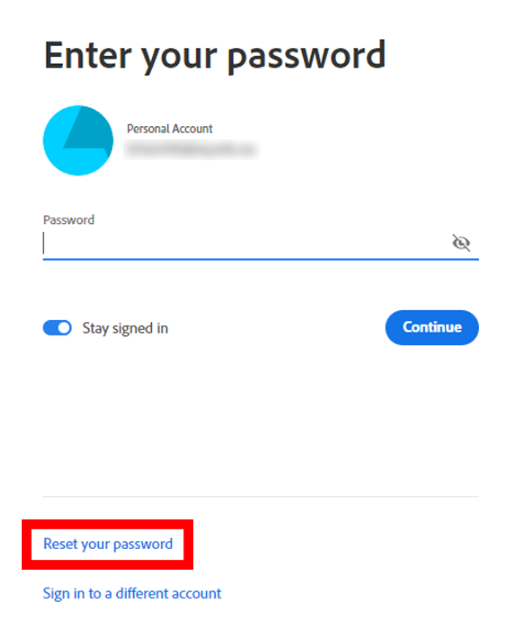
- You will be presented with the following login prompt. Enter your full school email.
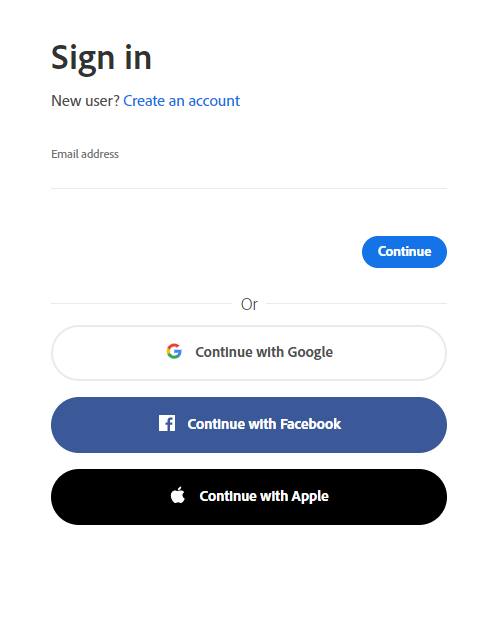
2. Select “Reset your password”
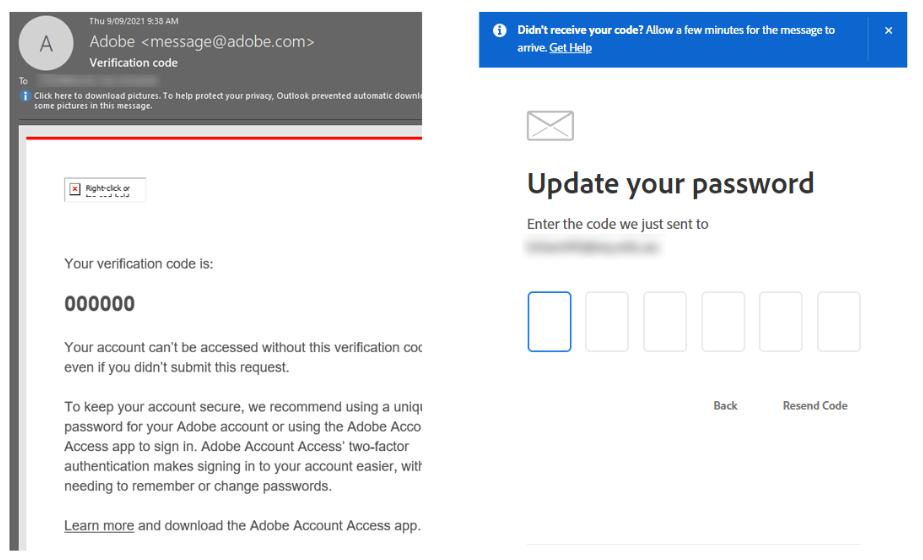
3. You will now receive an email from Adobe with a verification code. Input the code.
4. Create your new Password and press Update Password.
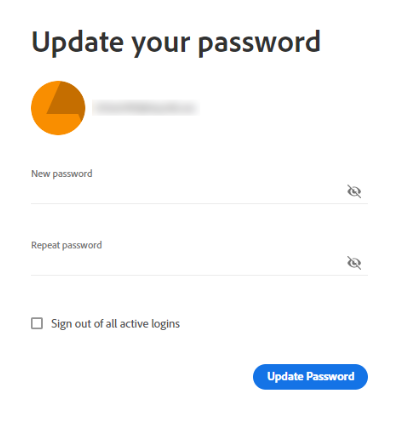
5. You have now reset your Adobe password. You will receive a confirmation email from Adobe and can now use Premiere Pro.
Failed Install?
If your install fails, it is likely one of two things.
- Make sure all other programs are closed when trying to install otherwise it will fail.
- Your C drive may not have enough space to install Premiere.
If you do not have enough space to install Premiere Pro or experiencing another reason of the install failing, please visit One2One during opening hours (seen here) for further technical support.
Premiere Pro not showing up in Software Centre?
If Premiere Pro fails to show up in software centre, please visit One2One during opening hours (seen here) for further technical support.